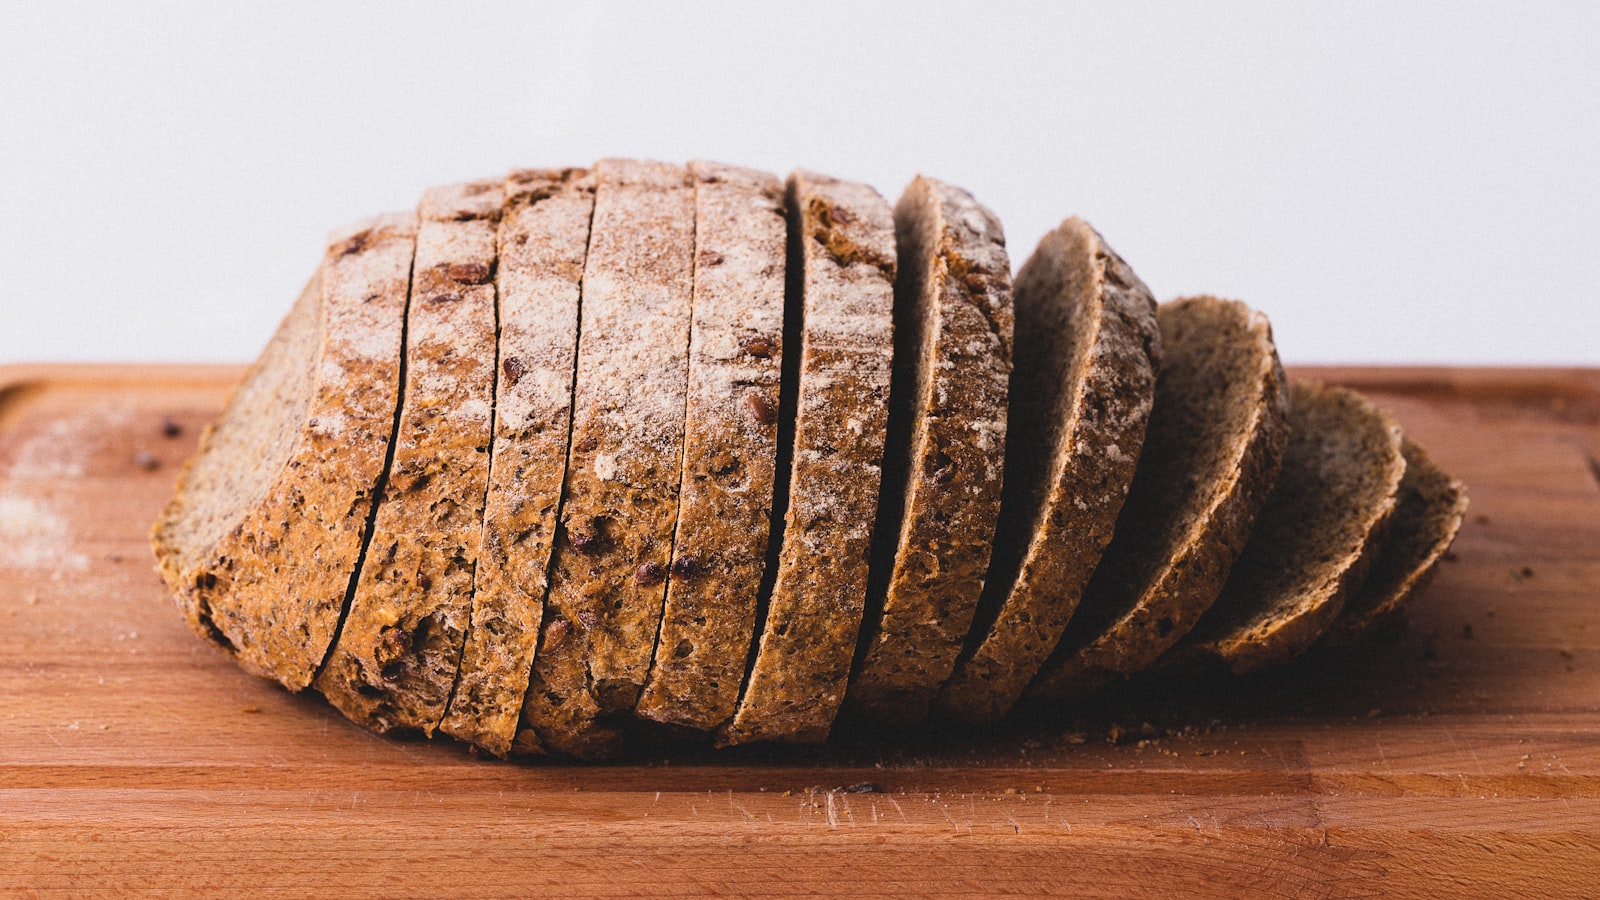
A sourdough starter is nothing more than flour and water left to attract the wild yeast and bacteria that live all around us, yet the first time you build one it can feel like a small act of alchemy. I have started dozens of them over the years, in warm kitchens and cold ones, and the honest truth is that patience matters far more than any special technique. This guide walks you through the whole week, day by day, so you know exactly what to do and, just as importantly, what to expect when things look strange.
What a Starter Actually Is#
Before you scoop a single spoonful of flour, it helps to understand what you are growing. A starter is a living culture: a stable community of wild yeast (which produces the gas that lifts your loaf) and lactic and acetic acid bacteria (which give sourdough its tang and help keep the culture healthy). You are not adding these organisms. They are already present on the flour and in your kitchen air. Your job is simply to create conditions where the good ones thrive and the ones you do not want get crowded out.
This is why the early days can be misleading. Around day two or three, many first-timers see a burst of bubbles and think they have succeeded, then panic when the activity dies down. That early flurry is usually caused by bacteria you do not ultimately want, and its collapse is a normal, necessary step. The real yeast takes longer to establish. Knowing this in advance saves a lot of unnecessary worry.
What You Will Need#
You do not need much, and I would gently steer you away from buying anything fancy at this stage.
- A jar or container with a wide mouth, ideally holding at least 500ml so the starter has room to climb. A clean glass jar is perfect. Leave the lid resting on top rather than sealed tight.
- Flour. I strongly recommend starting with wholemeal or rye flour, at least for the first few days. The bran carries more wild yeast and minerals, and it gets a culture going noticeably faster than white flour. You can transition to white bread flour later.
- Water. Lukewarm tap water is fine in most places. If your tap water is heavily chlorinated and smells of it, leave a jug out overnight or use filtered water, since strong chlorine can slow things down.
- A kitchen scale. This is the one tool I would not skip. Measuring by weight rather than cups makes your feedings consistent, and consistency is what turns a sluggish culture into a reliable one.
That is genuinely all. No pineapple juice, no commercial yeast, no starter bought from someone else. Building from scratch is slower but it teaches you to read your culture, which is a skill you will use every time you bake.
Day One: Mixing the First Batch#
Begin in the morning if you can, so you can check progress at a sensible hour.
- Add 50g of wholemeal or rye flour and 50g of lukewarm water to your jar.
- Stir vigorously until you have a thick, lump-free paste roughly the texture of pancake batter.
- Scrape down the sides, rest the lid on top, and mark the level of the mixture with a rubber band or a strip of tape.
- Leave it somewhere warm. Around 22 to 26C is ideal. The top of the fridge, an oven with just the light on, or a warm cupboard all work well.
Then walk away. Nothing meaningful happens in the first 24 hours, and resisting the urge to fuss is part of the process.
Days Two Through Four: The Awkward Phase#
This is where people give up too early, so I want to be specific about what you will see.
The false start#
By day two you may notice a few bubbles and a slightly sour or even cheesy smell. Feed it anyway: discard all but about 50g of the mixture, then add 50g fresh flour and 50g water, stir, and re-mark the level. The discarding feels wasteful, and it is worth being honest that it is the least satisfying part of the whole endeavour. But it keeps the acidity in check and concentrates your feedings on a manageable amount.
By day three, that early activity often stalls. The mixture may look flat and smell sharp or oddly like nail varnish. This is normal. The bacterial bloom has run its course and the yeast has not yet taken over. Keep feeding once a day, same ratio, same routine. Do not throw it out.
When to feed twice a day#
Around day four or five, once you see the culture consistently rising a little between feeds, switch to feeding twice a day, roughly every 12 hours. At this stage I usually begin blending in white bread flour, moving from all wholemeal toward something like half and half, because white flour gives you a milder culture better suited to most breads. If your kitchen is cold and progress is slow, staying on wholemeal longer is a perfectly reasonable trade-off for speed.
Days Five Through Seven: Building Strength#
Now the character changes. The smell shifts from sharp and unpleasant toward something pleasantly tangy, yeasty, almost like plain yoghurt or ripe apples. You will start to see the surface dome and fill with bubbles, then rise visibly against your mark before slowly sinking again.
The pattern you are looking for is predictable timing: after a feed, the starter should rise, peak, and fall on a schedule you can roughly set your watch by. A young starter might take 10 to 12 hours to peak. A mature one will do it in 4 to 8. When your feedings reliably produce a starter that doubles in size within about 4 to 8 hours and smells clean and tangy, you are close to bake-ready.
A note on timelines: seven days is typical, but I have had cultures ready in five during a warm summer and others that took closer to two weeks in a cold flat in January. Temperature is the single biggest variable. If yours is slow, it is almost never broken. It is just cold.
How to Know It Is Ready#
Two simple checks tell you whether your starter can leaven a loaf.
- The rise mark. Feed the starter, mark the level, and watch. If it roughly doubles within 4 to 8 hours, the yeast population is strong enough to raise dough.
- The float test. At or near the peak, drop a teaspoon of starter into a glass of water. If it floats, it is full of gas and ready to bake with. If it sinks, give it another feed or two and try again. The float test is a useful confidence check rather than gospel, but for a beginner it is a reassuring green light.
If both the rise and the float agree, bake. Your first loaf may be modest, and that is fine. A young starter often gains real power over the following couple of weeks of regular use.
Keeping Your Starter Alive#
Once it is active, you have a choice about maintenance.
- Baking often (a few times a week): keep the starter at room temperature and feed it once or twice daily. It stays lively and ready.
- Baking occasionally: store it in the fridge and feed it once a week. The cold slows fermentation dramatically. Before you want to bake, take it out, give it a feed or two at room temperature to wake it up, and confirm it doubles before mixing your dough.
A few habits keep a culture trouble-free for years:
- Keep the jar reasonably clean. Scrape down the sides after feeding so old, drying starter does not build up.
- Do not fear a dark liquid on top. That grey or brownish layer, sometimes called hooch, simply means the starter is hungry. Pour it off or stir it in and feed as normal.
- Trust your nose, not the calendar. A healthy starter smells tangy and clean. If it ever smells genuinely rotten or shows fuzzy pink, orange, or black mould, that is the rare case where you discard it and begin again. In practice, with regular feeding, this almost never happens.
A Few Honest Caveats#
I want to be straight with you about the trade-offs. Building from scratch is the slowest way to get baking, and if you simply want a loaf this weekend, begging a spoonful of active starter from a friend will get you there faster. What you gain by doing it yourself is understanding. You will have watched the culture stumble and recover, and that means when a future bake goes sideways, you will know how to read the signs and fix it.
Discarding also nags at people, and reasonably so. In the first week I keep quantities small precisely to limit waste, and once the starter is established you can bake with the discard in pancakes, crackers, or flatbreads rather than binning it.
Bringing It All Together#
Building a sourdough starter is really an exercise in observation. Feed it equal parts flour and water on a steady rhythm, keep it warm, and watch how it responds rather than counting days. Within a week or so you should have a bubbly, tangy culture that doubles on schedule and passes the float test, and from that single jar you can bake indefinitely. Take your time, do not panic at the awkward middle days, and trust that flour, water, and patience really are all it takes.