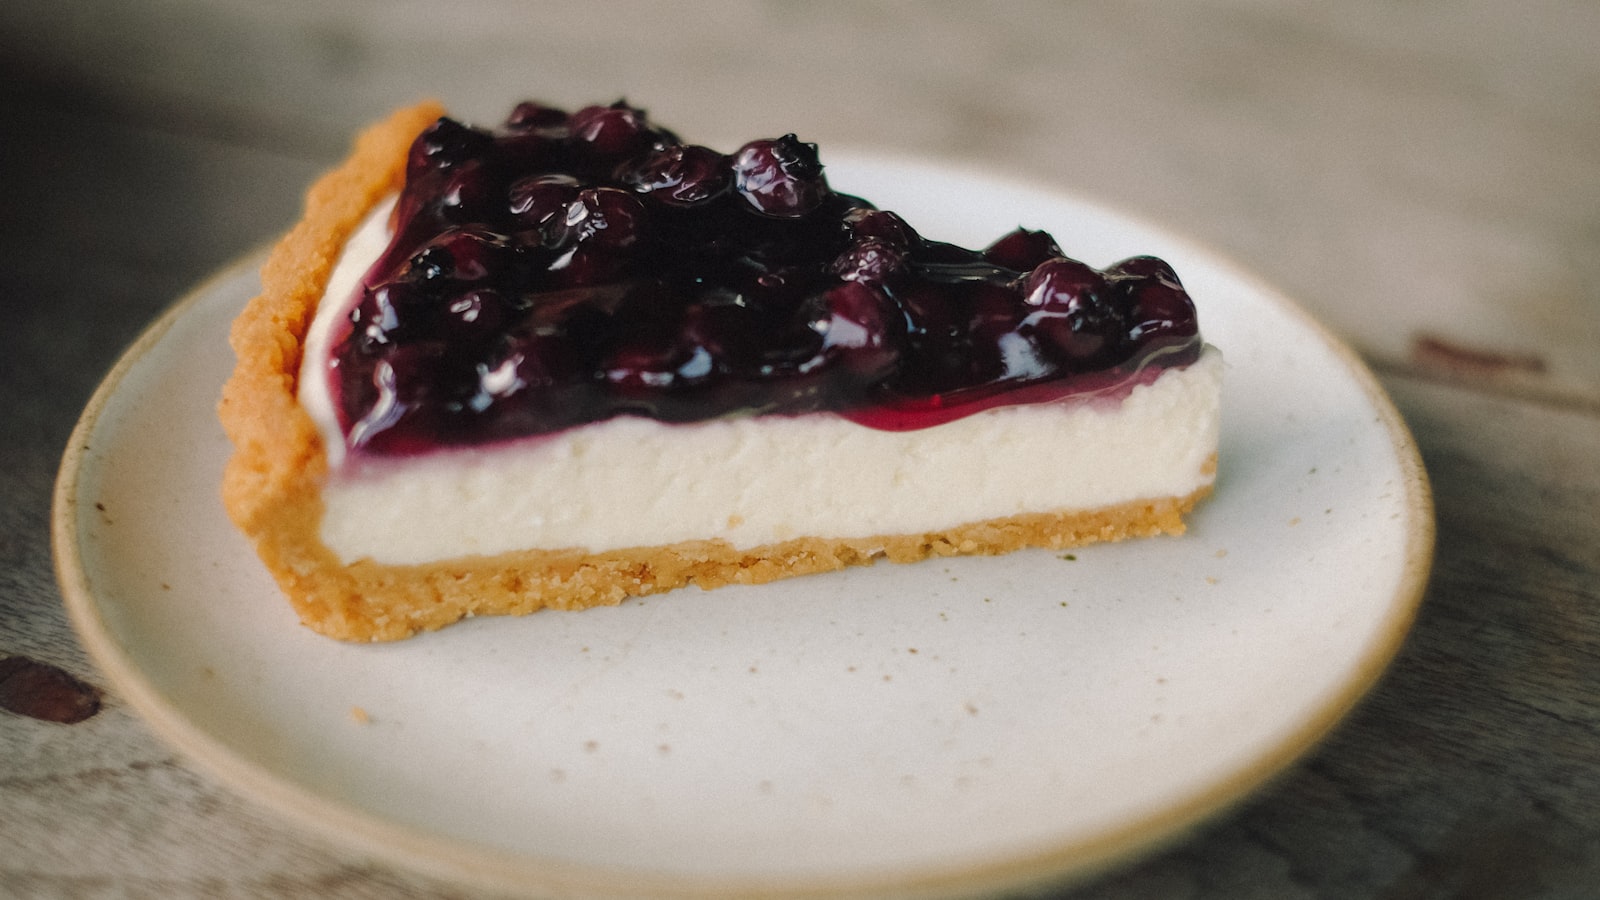
There is a particular heartbreak that comes when you cut the first slice of a fruit pie you were proud of and a pool of pink juice rushes out to fill the gap, leaving the fruit slumped and the bottom crust the texture of wet cardboard. I have made that pie more times than I would like to admit, and every one of those failures taught me something about how juice, starch, and heat actually behave. The good news is that a pie that holds its shape is not luck. It is the sum of a few decisions you make before the pie ever goes in the oven.
Why fruit pies weep in the first place#
Weeping is a water problem. Fruit is mostly water bound up inside cell walls, and once heat breaks those walls down, the liquid floods out. If nothing is there to trap it, that free liquid does three destructive things at once: it drowns the bottom crust before it can crisp, it collapses the fruit into a shrunken layer under a domed top crust, and it runs out the moment you cut in.
A thickener works by absorbing that free water and turning it into a soft gel. Starch granules swell as they heat, burst, and release long molecules that tangle together and hold liquid in suspension. Get the amount and the technique right and the juice sets into something glossy and spoonable that clings to the fruit instead of pooling under it.
The two variables you actually control are how much water your fruit will release and which thickener you use to catch it. Juicy summer fruit like sour cherries, blackberries, and ripe peaches sheds far more liquid than apples or firm pears, and it needs a proportionally stronger set.
The three thickeners, compared#
Over years of testing the same fillings side by side, I have come to think of the common thickeners less as interchangeable and more as tools with distinct personalities. Here is how they actually differ in a pie.
Cornstarch#
Cornstarch is the workhorse in most home kitchens, and for good reason. It sets firm, slices cleanly, and gives fillings a glossy sheen that looks appetizing on the plate.
- Strengths: Strong thickening power per spoonful, a clear-to-slightly-cloudy set, and it is already in your pantry.
- Weaknesses: It can turn gluey or leave a starchy mouthfeel if overused, and it loses thickening power in very acidic fillings like sour cherry or rhubarb if boiled hard for too long.
- Best for: Apple, blueberry, mixed berry, and most everyday pies where you want a reliable, sliceable set.
A rough working ratio I return to again and again: about 2 tablespoons of cornstarch per 4 to 5 cups of moderately juicy fruit, scaling up toward 3 tablespoons for the wettest fillings.
Tapioca#
If cornstarch is the workhorse, tapioca is the specialist I reach for when a filling is genuinely soaking wet. Instant or quick-cooking tapioca, ground fine or used as pearls, sets juicy fruit clearer and firmer than anything else on this list.
- Strengths: A beautifully clear, jewel-like set that shows off the fruit, excellent freeze-thaw stability, and it holds up to acidity better than cornstarch.
- Weaknesses: Whole pearls can leave little gelatinous beads if you do not grind them or give them enough time to hydrate. It also needs a true boil to activate fully.
- Best for: Sour cherry, blackberry, peach, and anything you plan to freeze or make ahead.
I grind quick-cooking tapioca to a coarse powder in a spice grinder and let the filling sit for 15 to 20 minutes before baking so the granules hydrate. Skip that rest and you risk gritty specks in the finished slice.
Flour#
Flour is the old-fashioned choice, and it deserves respect even if it is no longer my default. It produces a soft, homey, slightly opaque set rather than a glossy one.
- Strengths: Forgiving, always on hand, and it gives a rustic, almost cloudy filling that suits a farmhouse apple pie.
- Weaknesses: Weak thickening power means you need roughly twice as much as cornstarch, and too much reads as pasty or floury. The set is cloudy, which dulls bright fruit.
- Best for: Apple and other lower-moisture fruit, especially in double-crust pies where a little opacity is welcome.
Plan on about 1 tablespoon of flour for every teaspoon of cornstarch you would otherwise use. For a standard apple pie that often lands around a quarter cup.
Matching the thickener to the fruit#
The single biggest mistake I see is treating every fruit the same. A blanket "2 tablespoons of cornstarch" works for apples and ruins a cherry pie. Think in tiers:
- Low-moisture fruit (apples, firm pears): the least thickener. Flour or a modest amount of cornstarch is plenty.
- Medium-moisture fruit (blueberries, plums, mixed berries): a moderate dose of cornstarch, or tapioca if you want a cleaner look.
- High-moisture fruit (sour cherries, blackberries, ripe peaches, rhubarb): the most thickener, and this is where tapioca genuinely earns its place.
A trick worth adopting: macerate and measure. Toss the cut fruit with its sugar, let it sit for 30 minutes, and pour off the released juice into a measuring cup. Now you can see exactly how wet the filling is and thicken deliberately. Some bakers reduce that drained juice in a saucepan to a syrup and stir it back in, concentrating flavor while removing water before it ever reaches the crust.
Techniques that matter as much as the thickener#
Choosing the right starch gets you halfway. The rest is technique, and these are the habits that separate a clean slice from a sloppy one.
Bring the filling to a real boil#
Starches only reach full thickening power at or near boiling. A pie that comes out with the center still barely bubbling has almost certainly not activated its thickener. Look for thick, slow bubbles pushing up through the vents, not a gentle simmer at the edges. This is why a lot of underset pies are simply underbaked in the middle, not underthickened.
Protect the bottom crust#
- Bake on a preheated surface. I keep a heavy baking steel or stone on the lower rack and set the pie directly on it. That blast of bottom heat sets the crust before the juices soak in.
- Start hot, then lower. Beginning at a high temperature crisps the bottom, and dropping it afterward lets the filling cook through without burning the edges.
- Consider a light egg-white brush on an unbaked bottom crust as a moisture barrier for especially wet fillings.
Give the top somewhere to vent#
Trapped steam has to escape, and if it cannot, it condenses back into the filling. Generous vents or a lattice let water evaporate as the pie bakes, which means less liquid left to weep. A lattice top is not only pretty; it is functional dehydration.
The step almost everyone rushes: cooling#
Here is the truth that undoes more good pies than any thickener choice: the filling is not set when it comes out of the oven. It is still molten. Starch gels finish setting as they cool, and cutting into a warm pie is the surest way to release a flood.
A fruit pie needs to cool completely to room temperature, which for a full pie means about four hours, sometimes longer for a deep dish. I know that is a hard ask when the kitchen smells like warm cherries, but every time I have cut in early I have paid for it with a runny slice. If you want it warm, cool it fully first and then reheat individual slices gently. The set survives reheating; it does not survive being cut before it forms.
Putting it all together#
If I had to compress everything into a short set of rules to bake by, it would be these:
- Reach for tapioca when the fruit is wet or the pie is headed for the freezer; it sets clear, firm, and acid-tolerant.
- Reach for cornstarch for everyday pies where you want a glossy, dependable, sliceable set.
- Reach for flour when you want a rustic, homey apple pie and a softer, cloudier filling.
- Macerate and measure so you thicken for the juice you actually have, not the juice you guessed at.
- Boil the center, protect the bottom, vent the top, and above all, let it cool completely.
None of this requires special equipment or a professional kitchen, only a little patience and the willingness to wait for the pie to finish setting on its own schedule rather than yours. Do that, and the next time you cut in, the slice will stand up tall on the plate, the juices held right where they belong, and the bottom crust will crackle under your fork. That first clean cut is worth every minute of the wait.